Friday, February 18, 2011

Here There Be Dragons


Grant requested a custom made dragon hat... and I was able to find the perfect pattern! This was the first colorwork pattern where I was finally able to learn how to hold a color in each hand.. which made the colorwork section go much, much, much faster!

This was a very cool pattern; I liked that the pattern included color charts, and line by line instructions depending on what you preferred. I also like the checkered pattern, and the crown detail is cool. I used a grey heather acrylic from my statsh for the body of the hat, and a slightly graduated yarn (Cascade Paints) for the dragon pattern.

The only problem I had is that the pattern instructs you to cast on 90 stitches for a child… and then you are instructed to do 2 x 2 ribbing (which doesn’t seem to come out even)… maybe that’s just my inexperience coming through, lol!


And, now for the pictures!


I also ended up making dragon socks to match his hat (at his request, lol!). The colorwork portion is a trifle snug on his calf, but it does help the sock stay up very well… he just needs a little help easing it over his heel, and then he says it is very comfortable!
I used a basic sock pattern, cast on 32 stitches (I should have done 36 stitches, as the dragon is a 18 stitch repeat- so only one of the dragons flames.. the other dragon on the sock is flameless!). I did a k2p2 ribbing, followed by a red/grey checked pattern, then 2 repeats of the dragon and then another repeat of the checked border. I’m very happy with these, and most importantly, Grant is too!

Quick Knit Baby Hoodie


My very first sweater! I knitted a 12 month sized hoodie for Katie using size US 10½ needles & Lion Brand Jiffy Dark Grey Heather & this pattern: Quick Knit Hoodie by Stacie Perry The videos that go with this pattern really make the difference between giving up on your first sweater in frustration, and having the lightbulb go on above your head! Everything I needed to know was either explained, demonstrated or referenced… so this sweater took me 2.5 days from beginning to end. I love it! I used acrylic instead of wool or superwash wool because it is for a baby, and I know it will be washed many, many, many times.
This is the first time I have tried swiss darning.. and the heart came out a little wonky (especially on this heather yarn… very hard to see the individual knit stitches), but I still think it looks cute :)


Tuesday, January 11, 2011

Remembering Lee Vaughn

A picture presentation I put together to honor Lee at his memorial service.

Friday, January 7, 2011

Coffee Craving

Miss E comes to me, and says, "Mommy, I love your coffee"... This is the very last thing that Little Miss E needs!

Bad Hair Day

Kind of looks like static electricity.... doesn't it?

Tuesday, November 24, 2009

Holiday Bazaar

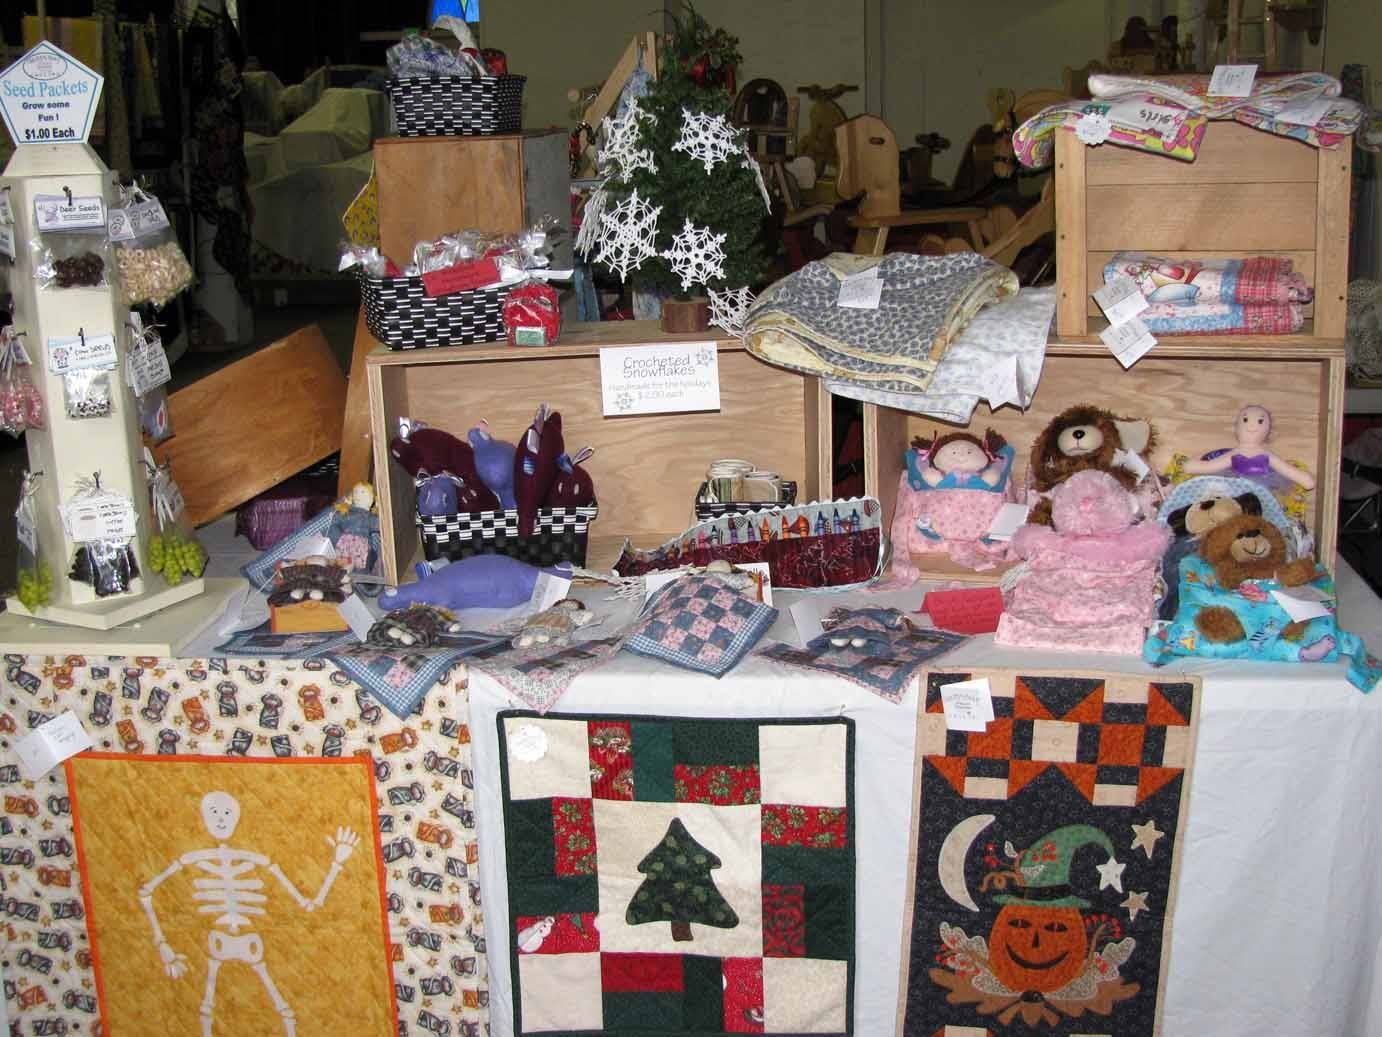
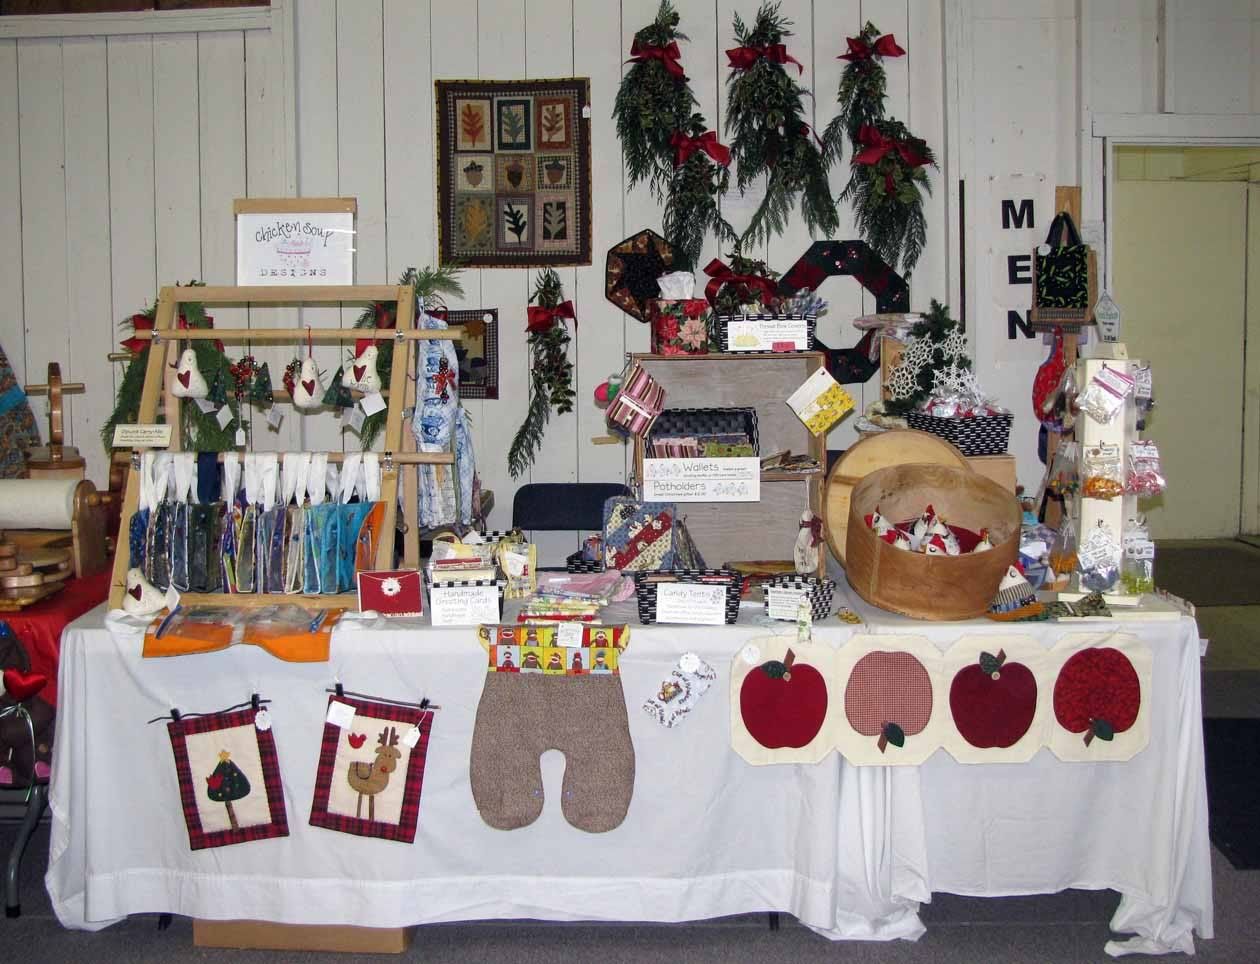
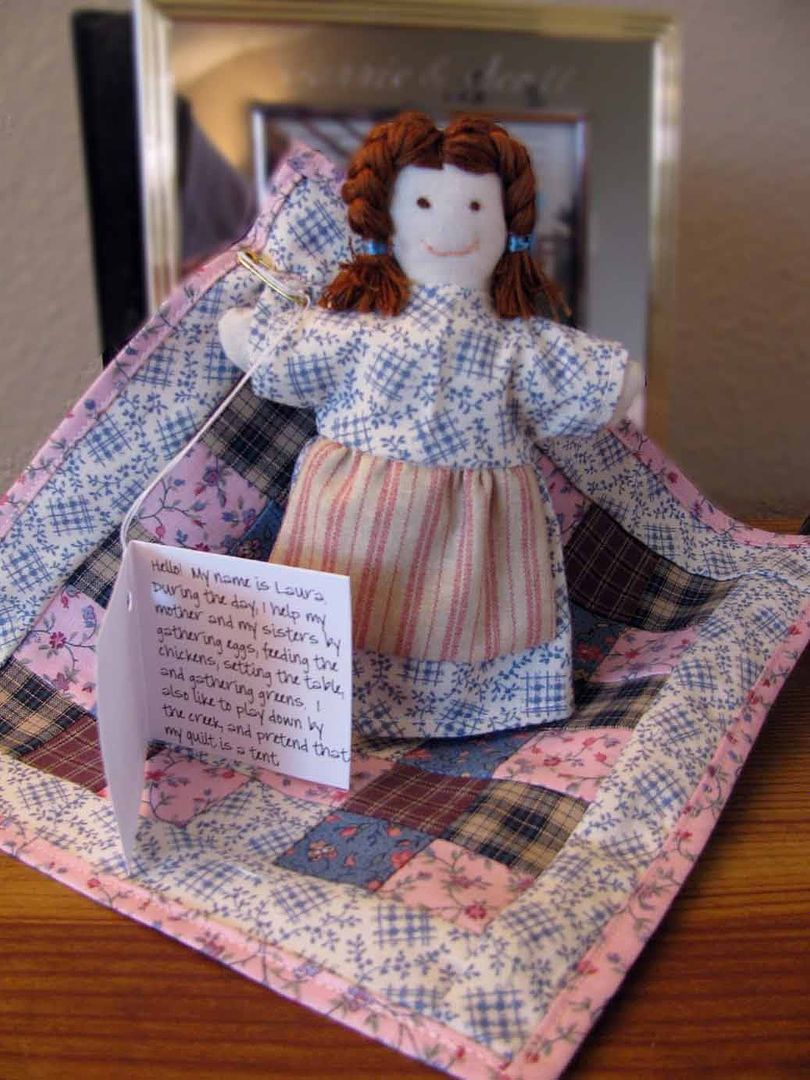
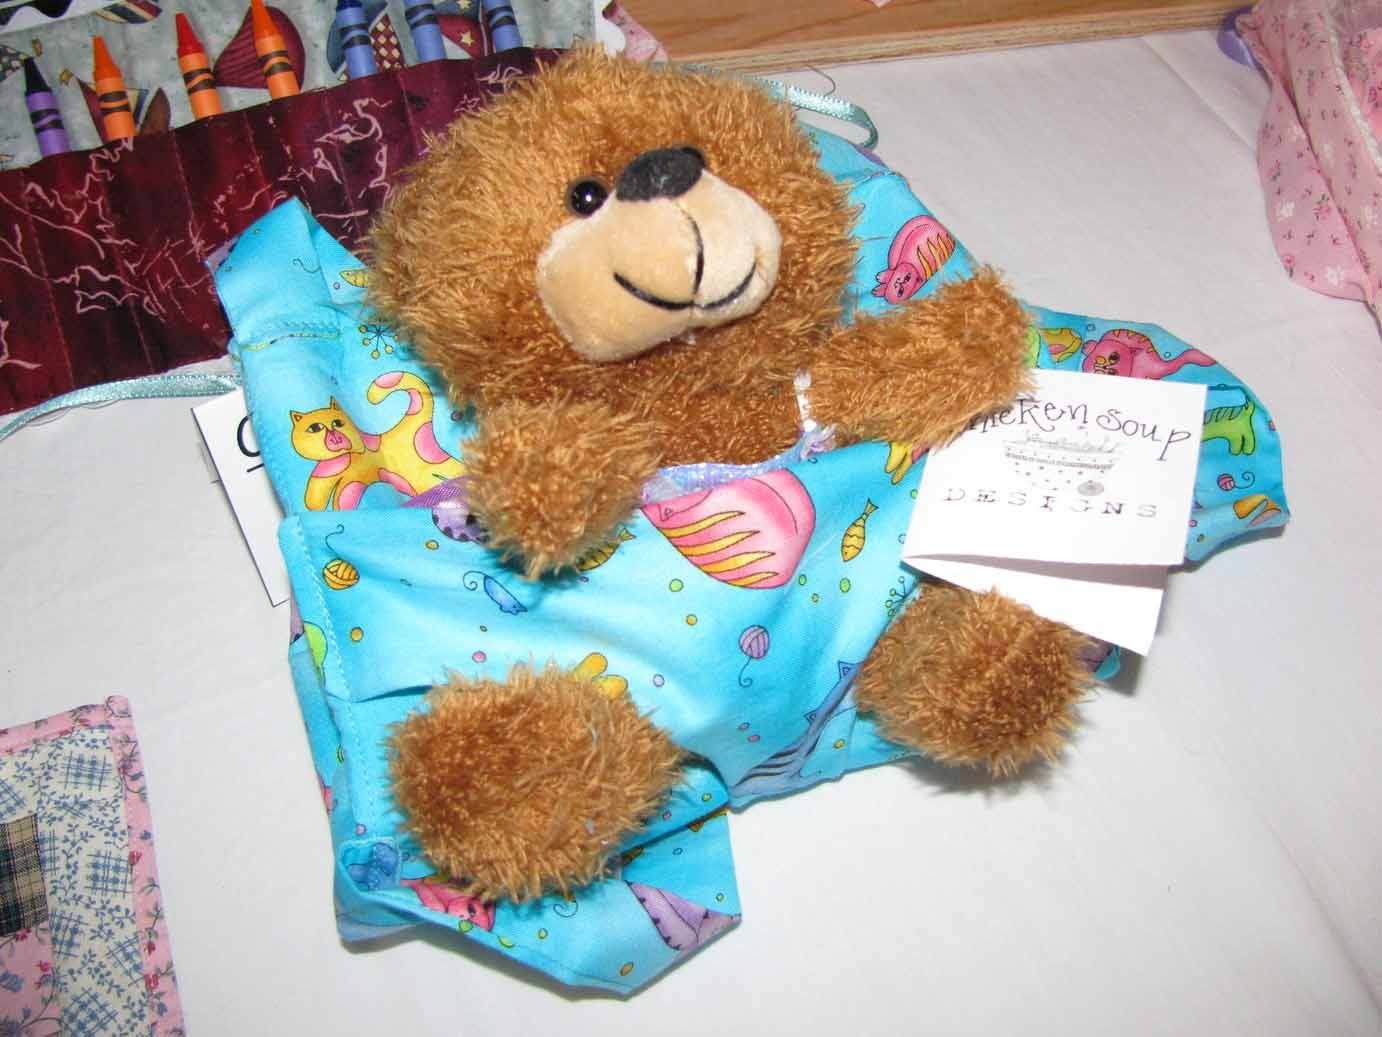
Hello, and happy holidays! Here are some pictures from our most recent bazaar as well as some of our best sellers. Please email ChickenSoupDesigns (haferhouse4 AT wbcable.net) with questions or requests!


Thursday, September 17, 2009

Altered Journal

My niece has an upcoming birthday, and she only had one request ... there MUST be a unicorn. Soooo... I used {Cassidy} by Miss Tiina & Faith True and Mod Podge to cover a composition notebook and a pencil for her "private journal", lol!


First, I scanned in the composition notebook cover so that I could get a rough idea of my design size. Then I printed out a front and back cover (the back cover had an extra piece for covering my pencil) on Kodak Photo Paper (Gloss) and spread a thin layer of Mod Podge over each piece with a foam tool. That only took about 5 minutes to dry, and then I spread a thicker layer of Mod Podge on the front of the composition notebook.


I trimmed the left hand side of my front piece (for a straight edge where it would meet the binding) and then adhered my page. I rolled out any potential air bubbles with my rolling pin (I'm sure a brayer would have worked just as well, but I didn't have one, lol!). I then let it dry for a couple of minutes, flipped it over, and trimmed off the excess with a craft knife. I also sanded the edges and applied another coat of Mod Podge (especially where the front design met the binding). I then repeated the process with the back design (for the back design, you must trim the RIGHT side of the design paper, however!!)

The pencil was very easy as well. Cut a strip of paper that is 1″ by the length of your pencil before it’s sharpened. My pencils were 7″ long. Brush Mod Podge on the strip of paper. Lay pencil on one edge of paper, and then with clean fingers smooth down by rotating the pencil. You can roll on a flat surface to make sure paper is adhered. Brush a little Mod Podge under edge of paper if needed. Let dry 1/2 hour before sharpening pencils.

Here's my finished project: