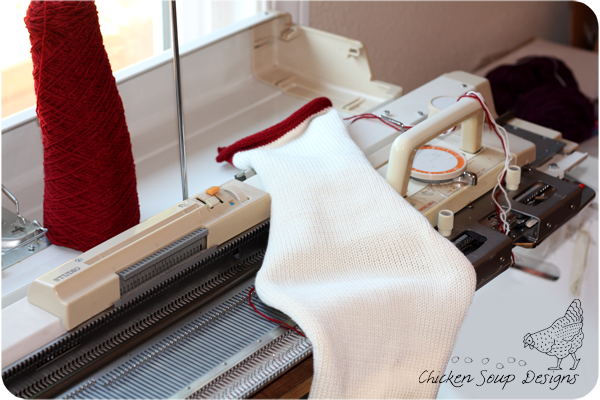
Look what I got :) A new-to-me knitting machine!! After a couple days of threading it wrong, and messing with the tension, and watching countless YouTube videos, I finally managed to knit up a two-stranded sock blank with some Cascade Heritage sock yarn. I weighed the skein, and cut it into 2 identical balls, and just knit the two of them together at the lowest tension I could get away with. This particular blank is 60 stitches wide, and I just knit until I ran out of yarn (took about 15 minutes, start to finish). The red yarn is some waste acrylic to keep my live stitches from unravelling until I was ready.
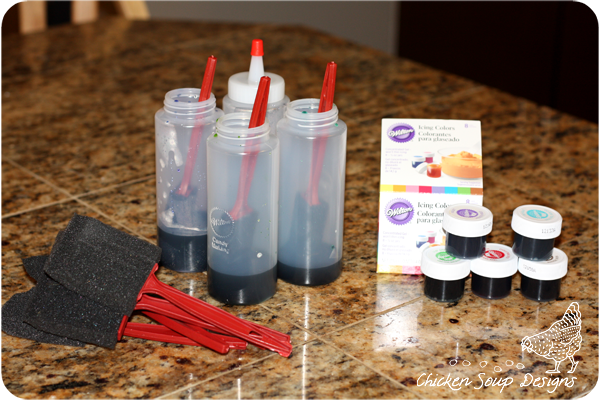
Why am I so excited about a 2-stranded sock blank, you ask? Oh.... because I wanted to use some of THIS! Oh yes... let the dyeing COMMENCE!
Here's the whole process! I soaked my blank in a mixture of tepid water and vinegar for about 3 hours (while I put all the kiddos down for nightime, lol).
While it was soaking, I mixed up my dye solutions in some small squirt bottles. I used Wilton's icing gels for the color, and added a small amount of brown to each base color to deepen the undertones. When I had my dye solutions prepared, I prepped my work surface by laying out several large white plastic bags, and then stretched a large piece of plastic wrap and layed out my blank (after spinning it in my salad spinner to remove excess water). Then, THE FUN PART! Using foam brushes, I painted on my chosen colors in chevron shapes (this helps the colors to blend as you are knitting). To avoid white/uncolored spots in the yarn, it helps to stretch the blank slightly to get in between stitches, and also to mop up excess liquid to keep the colors from running/bleeding too much and becoming muddy.
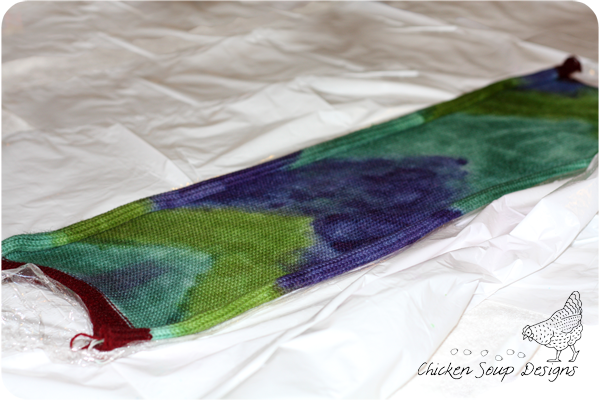
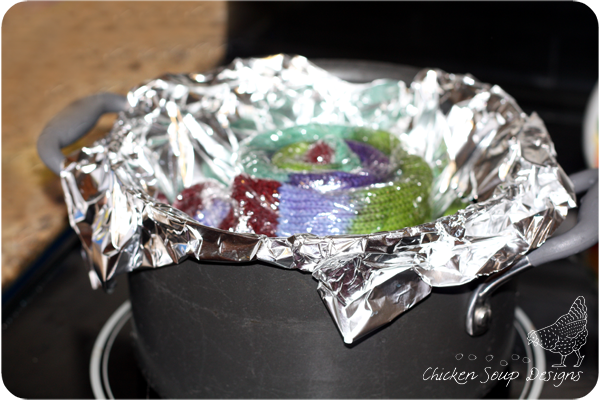
Once my design was complete, I used an old towel to mop up any leftover liquid (although, because I was using superwash yarn soaked in vinegar, all of my leftover liquid was clear as the dye was all in the blank). Then, I wrapped my blank with the plastic wrap to make it into a tube, and coiled it into a into a tidy little package. To set the color, bring 2" of water to a simmer in a
large pot with a vegetable steamer (or in my case, a piece of aluminum foil
with holes poked in it) in order to keep your sock
blank out of the water. Place your plastic-wrapped sock blank bundle in
the rack and steam it for 30 minutes, timing from when the water
reaches a boil. (I did have a lid on the pot, but took it off for photographs in the picture below)
After steaming for 30 minutes, turn off the burner and remove
the pot from the heat. At this point, you should let the sock blank cool in its plastic
wrapping right in the pot. If you open the hot plastic wrap before it has had a chance to cool down, you could
get a steam burn (and those REALLY hurt). If you are like me, and want to cool your bundle a little more quickly, you
can add it (still wrapped) to a bath of tepid water, and wait for it to cool. At this point, open the plastic wrap and remove the sock blank in order to rinse it with lukewarm water until the water runs clear. I like to wrap my rinsed
sock blank in a towel and then step on it to remove excess water, but you can
also use a salad spinner, or your washing machine’s spin cycle to spin the remaining water
out of the blank. Place your sock blank on a
hanger and allow it to air dry. (It is best to do this over a towel, because water will wick to the bottom of the blank and drip
off).
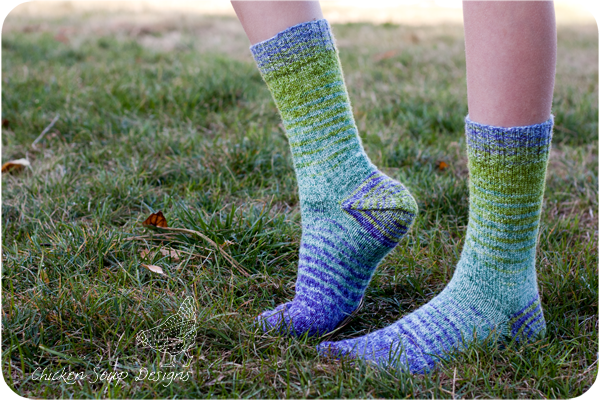
When your blank is dry, you can knit socks 2-at-a-time (I prefer top-down magic loop) directly from your blank:
And then be prepared for it to be hard to put this project down as you keep telling yourself, "Just one more color.....". It really is quite fun to see the design unfold! Here are my finished socks (with my first afterthought heel, nontheless, as I was trying to preserve the color striping -- I used
this tutorial by the KnitGirrrls)
I've got several more blanks waiting to be knit up, and I will be sure to share those as well! Hope you enjoy dyeing some blanks of your own!