Thursday, September 10, 2009

Mini Hybrid Gift

While I was waiting in line at Safeway today, I just happened to catch site of the olive bar... and those cute little olive containers. I took one right home and came up with this:


I made the labels for the Hershey Miniatures as described below in my previous post, and I measured the lid, and added a 4" circle with my shapes tool in PSE. I also printed out some additional decorative elements using {Sweetness} by Purple Colourz so that I could add some dimensionality to the lid. Here's a screen shot of what I ended up printing (includes 12 wrappers)


I adhered the printed circle to my lid using my Pioneer Extra Strong Embellishment Glue stick (I love this gluestick... works on anything) and then added a sheer ribbon bow, a couple of matching buttons, and the top cupcake (with foam dots)... I packed the chocolates in the tub with some paper shreds, and presto... a hostess gift for my sister-in-law! Here's the kit I used from FPD:

Hybrid Goodness

I’ll admit it … I have a weakness for chocolate, and I think that it makes the perfect gift! I wanted to dress up some Hershey's miniatures as a gift for my hubby's grandmother.


Here’s what I used to get started:


I started by creating labels to wrap around my miniatures. I opened a new 8 1/2 x 11 inch document in Photoshop Elements and created a template for my miniature wrappers. Then I had fun choosing my papers and embellishments from the collab kit {Mod Garden}. After creating each label, I merged it down, and copied it three times (for a total of 12 labels) Here’s a screenshot:

I decided to use my circle element to create a tag to attach to my bag, as well as a crocheted flower from the kit. After printing and cutting out all of my pieces I wrapped each miniature (securing with my Pioneer extra strong glue stick). Then I dressed up my circle design that would be the highlight on the top of my bag. First I adhered it to a slightly larger cardstock circle, and then placed my flower on with a pop-dot. I stuffed the bag with my wrapped nuggets, and some cream shredded paper, and then attached my tag with some coordinating ribbons.

Here's a template (in .psd form) if you want to whip up your own wrappers! Enjoy!


Tuesday, September 8, 2009

Party Favors

My niece has an upcoming birthday, and she only had one request for her invitations and favors... there MUST be a unicorn. Soooo... I used {Cassidy} by Miss Tiina & Faith True, and came up with these:
{Cassidy}


Invitations:

Sucker Wrappers:

Candy Pockets (fits a fun size M&M packet perfectly):


and here is a template that I made for the sucker wrappers, and for the candy pockets so that you can make your own party favors!

Wednesday, August 26, 2009

What I've been working on :)

Well.. school is just about to start, and I've had a lot to get ready. My son is going to be in Kindergarten this year, so now I have two students :) Here's a look at some of my most recent pages:

Photobucket

Wednesday, August 19, 2009

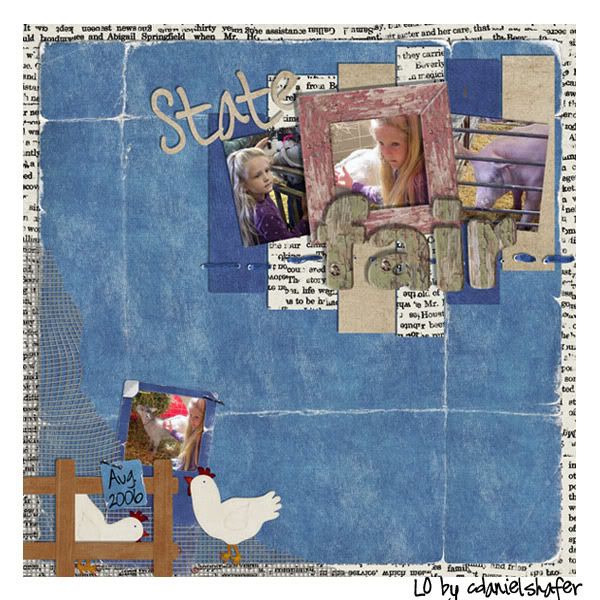
Barnyard Blast

Take a look at this darling kit being released tomorrow by Pamela Donnis and Jan Hosford:


It was perfect for these pictures I had of Sophie at the state fair (only 3 years ago, lol!)

Thursday, August 13, 2009

Quick and Easy Personalized Thank You Cards!

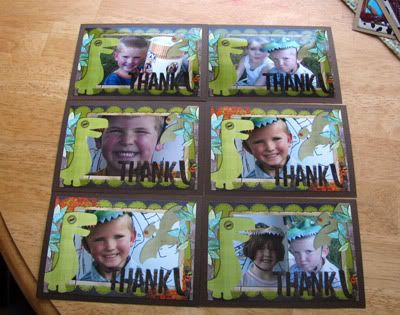
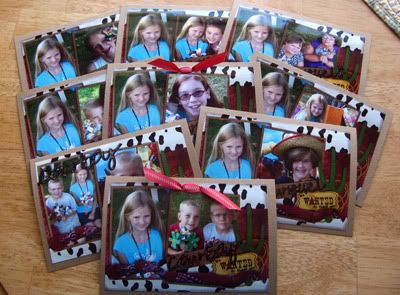
Both my oldest daughter's and my son's birthdays fall right around the end of August, and every year I go all out with the parties, lol! This year my son chose a {Dragons & Dinosaurs} theme for his birthday, and my daughter went with a {Western Theme}. I took pictures of each one of the guests, and made up a 4x6 Thank you card. I had them printed at Costco, and then I mounted them on 4.5 x 6.5 " cardstock. I had each child add a few lines of thanks to the back of each card, and then we sent them out. Very easy, very fast, and very much appreciated by each one of the birthday guests!


Here are my son, Grant's cards:

Here's Sophia's cards:


Using this kit by Traci Murphy:

Saturday, August 8, 2009

Happy Birthday Brag Book

This is a 5x7 Brag Book I am having printed for my nephew, celebrating his 5th
Birthday Party. You can see the whole book here


The templates that I used are from {Templates w/Attitude Brag Book Edition} and {Templates w/Attitude 5x7 set 2}, both by Tracy Blankenship, Papers and elements from I'm This Many from LCC by Amy Stoffel