Tuesday, January 29, 2013

Love is in the Air

February is quickly approaching... and you know what that means!  Valentine's Day knitting, of course!!! (or maybe it only means that to me and a select group of my yarny friends). Nevertheless, I have some heart-themed projects to share with you.

First up, some lovely, lacy heart socks knit up 2-at-a-time magic loop with Opal sock yarn.  The free pattern is Love Struck Hearts by Terri Knight, which you can easily download on Ravelry.  The original pattern calls for only 2 hearts down the leg, but I decided to add one more heart to make them a tad longer.  I really love this pattern.. especially with the hearts down both the back and the front.  Here they are modeled by my lovely dd (who only has size 3 1/2 feet, so these women's mediums are just a touch baggy on her).  If you are a member of Ravelry, my Love Struck Socks project page is here.

 
The other project I have to share with you are my Strawberry Sweetheart Mitts.  This is another free pattern called:  Sweetheart Glovelets by The Rainey Sisters.  This particular pattern calls for DK weight yarn, but all I had on hand was some worsted weight Cascade 220 Paints. 
The Cascade Paints yarn knits up at a slightly smaller gauge than a regular worsted (in my experience);  So…. I went down a couple of needle sizes (from a 3 to a 1) to get the right gauge of 6 stitches per inch. This made a very nice, firm fabric (very comfortable) with a my slighter thicker yarn.

I love the Cascade Superwash paints for their subtle color variation (at least in this colorway).. really adds depth to the finished item! The pattern was easy to follow once I figured out the charts (there is even a chart for the thumb gusset) and the finished gloves are really a nice gift!

I hope this gives you some ideas for your own Valentine's Day themed projects :)  Happy Knitting!

Tuesday, January 15, 2013

Easy Textured Socks


I have finally begun to accept the idea that until my children are a tad older.... patterns with lace charts and complicated sequences are just going to have to wait.  After 3+ interruptions in the middle of a complicated little bit of knitting, you might as well wash your hands of that row and start over!

Enter, "The SKYP socks".  I've been doing plain vanilla stockinette socks for quite a while now.. and while I love the self-striping yarns, and my own hand-dyed creations, sometimes you just yearn for something a little more complicated (but not TOO complicated... see above!)  This is why I love this pattern, For a minimum of effort in memorization, you end up with a lovely little stitch that sets your socks apart :)  If you are on Ravelry, the free pattern is "Simple Skyp Socks" by Adrienne Ku

So far, I've knit this pattern up in a lovely tonal stripe in Araucania Ranco Solid, in Eggplant:


and also in some Wildfoote Luxury Sock Yarn by Brown Sheep (a more highly variegated yarn):


One other textured sock pattern I really like (and it is also simple) is the free pattern "Hermione's Everyday Socks by Erica Lueder".  This pattern also works well with a self-striping yarn:


I've knit this pattern in some hand-dyed self-striping tonal yarn, too (toddler socks):


So there you have it :)  My solution to the plain vanilla stockinette sock (although I keep plenty of those on hand as well!)  Happy Knitting!


Sunday, January 13, 2013

Over the Rainbow

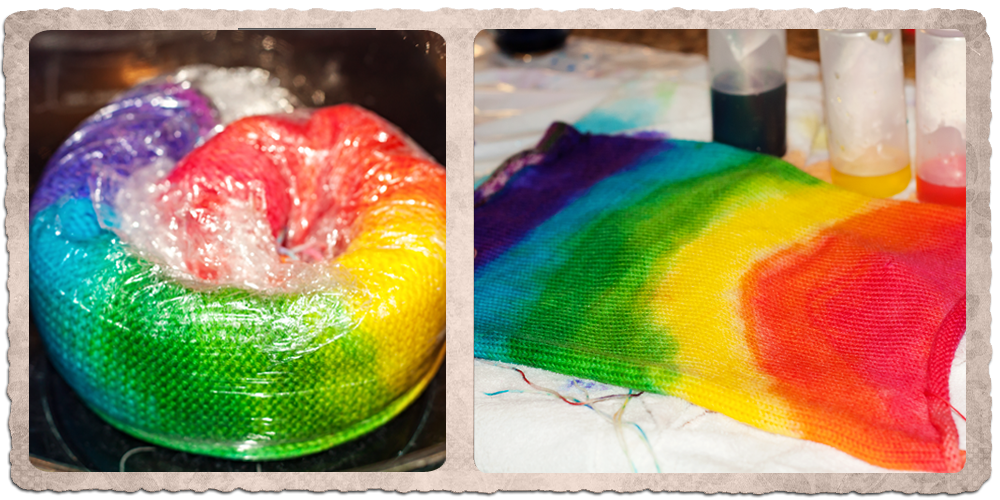
I know, I know... I've been promising ever since this post that I would be dyeing up another two stranded sock blank - RAINBOW STYLE!  I came across a wonderful de-stash on Ravelry for several skeins of Wool 2 Dye For "Platinum Sock" yarn (75% superwash Merino/25% nylon).  I divided one of these skeins in half by weight, and then knit up a 90 stitch wide, two-stranded sock blank at the lowest tension I could get away with on my Bond knitting machine.


After soaking my blank for about an hour in a mixture of tepid water and vinegar, I spun out the excess water using a salad spinner, and painted on my chosen rainbow colors:  Wilton Icing Colors in(Christmas Red, Orange, Lemon Yellow, Leaf Green, Sky Blue, Violet).  I ended up dissolving about 1/4 of a teaspoon in about a cup of hot water (in squeeze bottles).  The dye solution was applied with foam brushes in a chevron pattern to help color mixing in the final knitting. 

After the dye solutions were applied (and massaged into the blank with glove-covered hands), I then used an old towel to gently blot excess moisture (to keep the colors from bleeding into each other during the heat set process), and then I wrapped my blank with the plastic wrap to make it into a tube, and coiled it into a into a tidy little package.  Instead of steam setting, this time I used my microwave, and microwaved the blank in three 2 minute intervals with 5 minute rest times.   After cooling, the blank rinsed clear, indicating that the dye had been set.

 
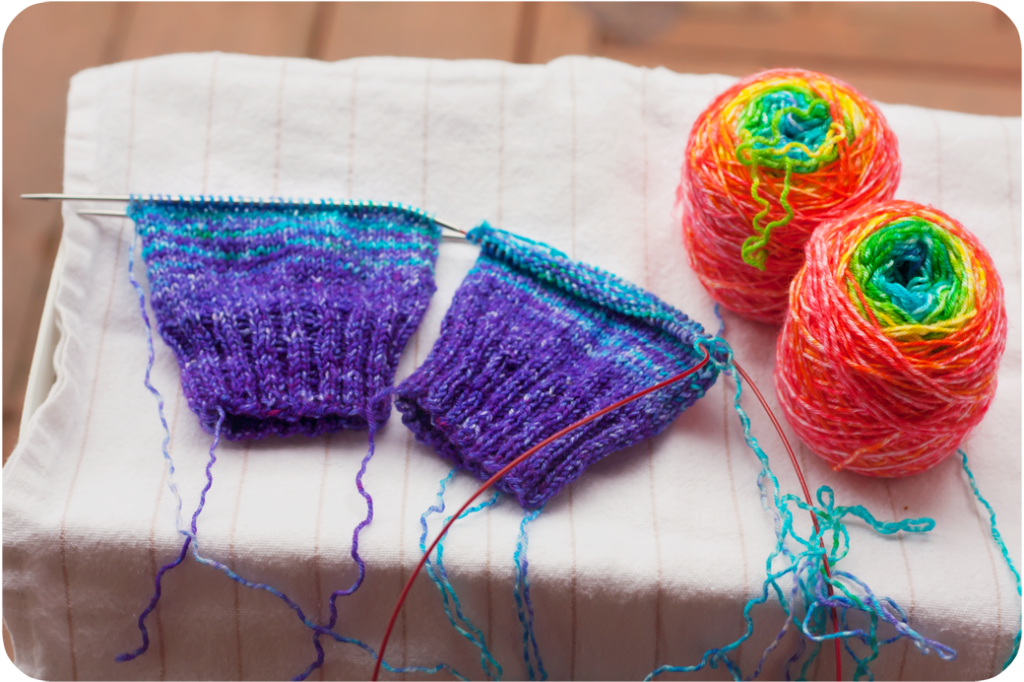
I prefer to knit from center pull balls rather than straight from the blank (I don't enjoy the curly tangle of yarn I can get from the blank), so I reskeined the yarn into two separate skeins while it was still damp, and then hung them to dry. 
 
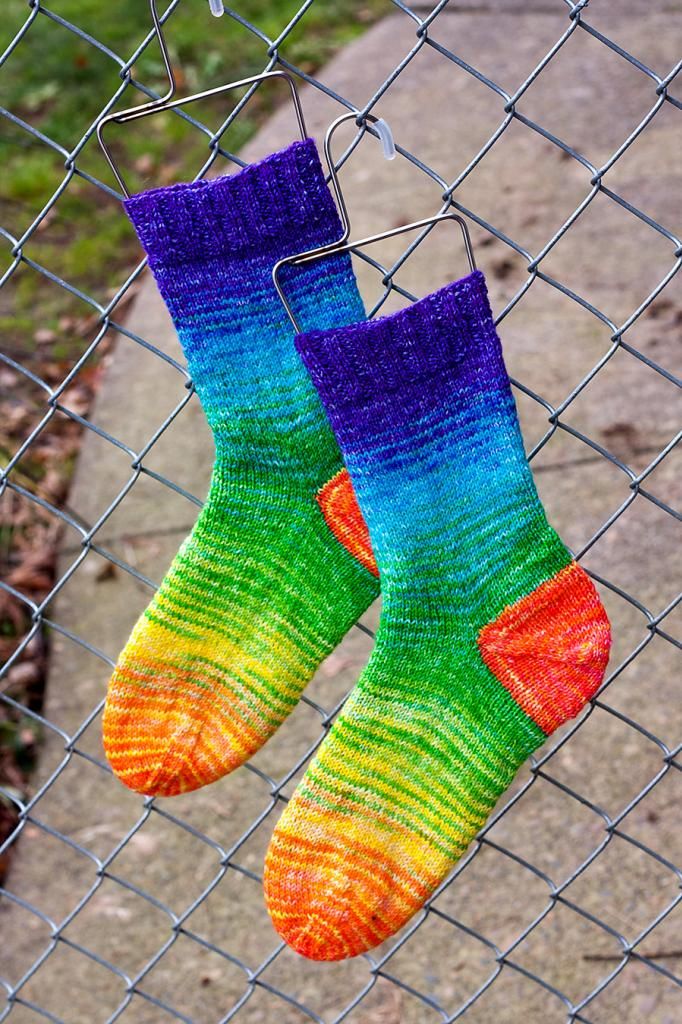
I cast on for 2-at-a-time magic loop, top down socks, and knit away!  There is something very satisfying about knitting with your own hand-dyed yarn, especially watching the color blending and anticipating the next new color!  They are hard to put down.  The W2D4 Platinum sock yarn is very cushy and soft, too!
 
 
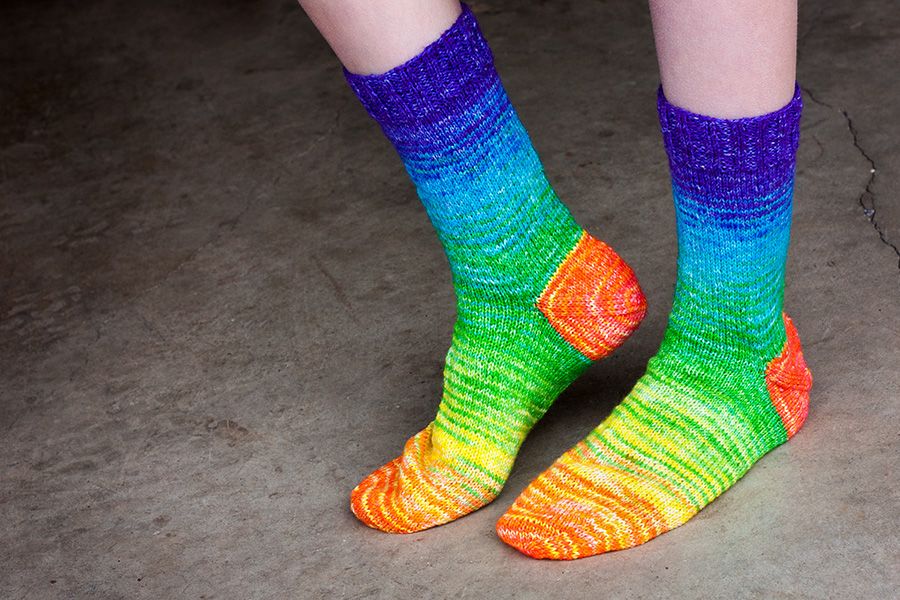
Here is my darling daughter modeling the finished socks (with orange/red afterthought heels).  They are just a tad too big for her (hence the wrinkles, lol!)
 
 
Happy rainbow knitting of your own!


Thursday, January 10, 2013

Year in Review

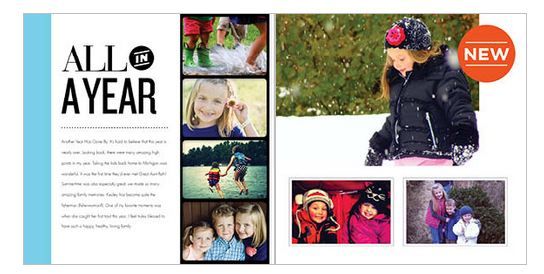
I received a 20$ credit from Shutterfly in my inbox this morning.. and what better way to spend it than on a "2012 Year In Review" photobook for our family?  I chose an 8x8, hardcover custom photobook path, called "All In A Year".


After uploading all of my photos to their website, and I just drag and dropped them into place, edited the text to reflect my family's year, and presto!  Our Family In Review, 2012!

                    Photo Book Tip: Create an adventurous travel photo album at Shutterfly.com.